


I know many of you have seen these hipster shorts and immediately wanted a pair. What better way to show pride for your country and make a fashion statement? A quick search on Etsy.com for "American flag shorts" gives some shorts that are selling for over $50! I made mine for under $5! This project will require some minor sewing knowledge (that can be easily learned) and some patience, but I think it's worth it! Plus, you get to tell everyone you made them yourself!
Materials needed:
- Shorts (an old pair of cut-off jeans would be perfect!)
- Red, white, and blue materials (I sewed together strips of red and white material. See the step 2 for more information and options)
- Thread and needle
- Pins (semi-optional)
- Sewing machine (optional)
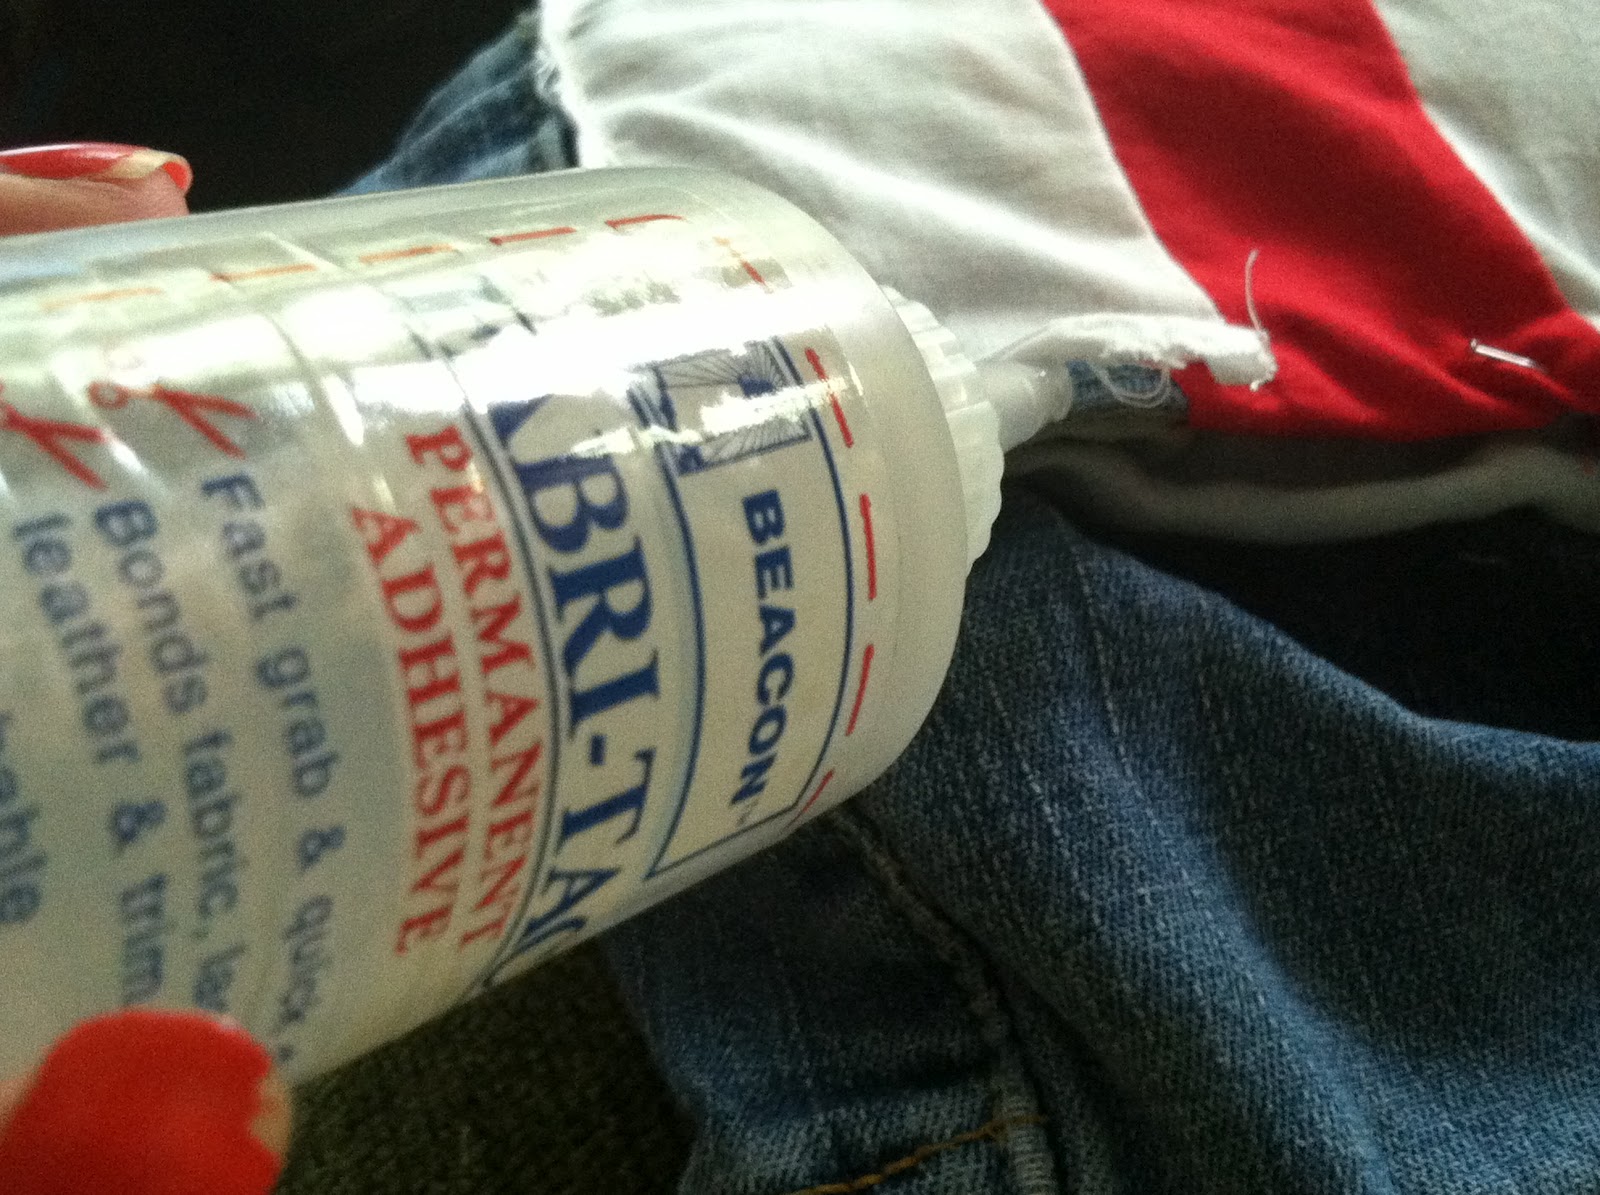
- Fabric glue (optional)
Before you go out and get all of this stuff, read through all the steps first please!
Step 1. Alright, so you need some shorts. All I did was cut the legs off an old pair of jeans. I would recommend doing the same, or using an old pair of shorts you don't really wear anymore. If you don't already own something, go hit up your local thrift store and try to find some shorts or jeans you can cut. Remember: the lighter and more vintage looking, the better!

Step 2. You'll also need material to make the stars and stripes! Other tutorials I've seen use one American flag handkerchief, but I couldn't find one so I improvised. (You can apparently get one at Party City for $2!) I found the star handkerchief at Hobby Lobby in between Memorial Day and Independence Day. I also found plain red and white hankies there to cut up into strips for the stripes. If you can find the flag hankie or red and white striped material, use that instead! It will save a lot of time! If you can't find any material with blue with white stars, you could always cut out stars from a white material and sew them onto some blue material. Get creative and improvise!

Step 3. First thing you'll want to do is wash the material you're going to be sewing onto the shorts. This initial wash is to get it to shrink and to get anything that will bleed to bleed now and not later when you wash your shorts! After you get the material washed and dried, you'll need to iron it to get all the wrinkles out. If you don't have an iron handy (or don't know how to iron) you could always use your hair straightener!

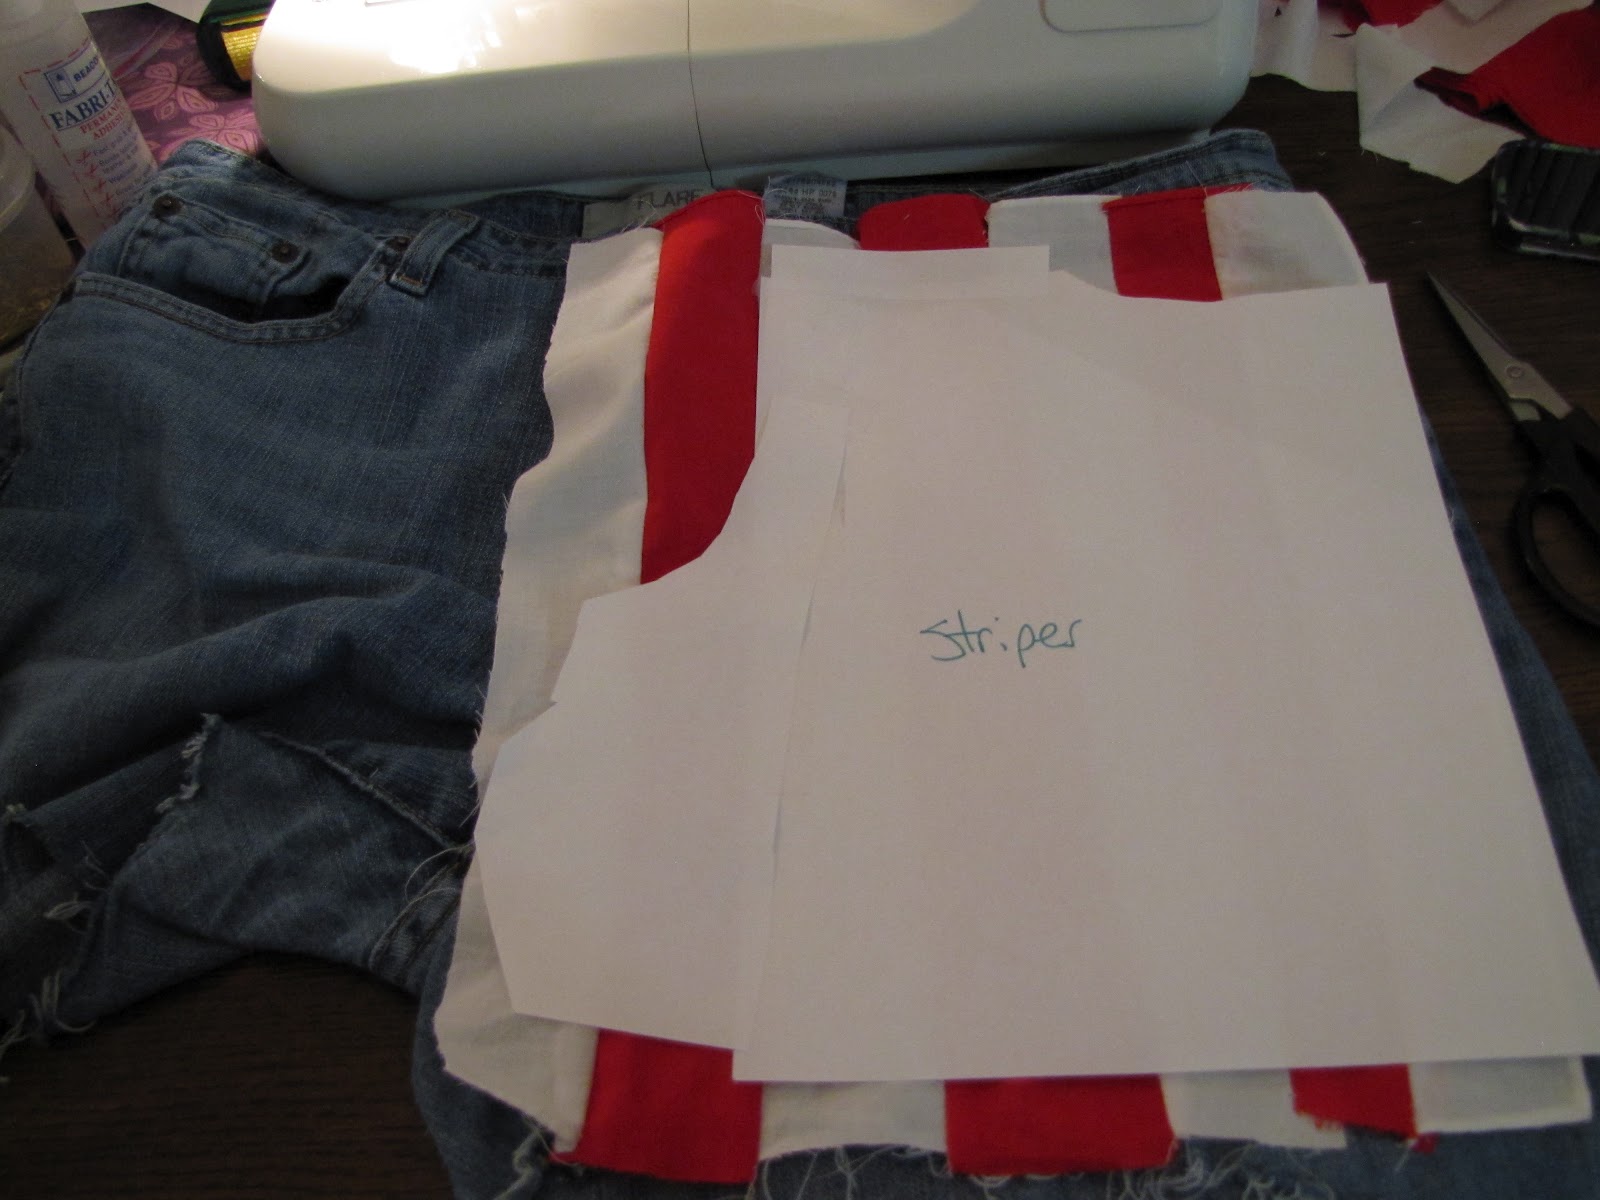
Step 4. To make a "pattern" all I did was tape some pieces of paper together and roughly cut it a little larger than the size I wanted my material to be.

Spread your shorts out to make sure you go from the outside seam (the sides of your shorts) to the inside seam (the crotch area).

I chose to exclude the fly from my pattern, but if you want to include it, go ahead!

Step 5. Now place the material you'll be using for your striped side over the "pattern" and cut it a little smaller. Be careful to not cut too small though!

IF YOU ARE USING MATERIAL THAT ALREADY HAS RED AND WHITE STRIPES, YOU CAN SKIP ON TO STEP 9.
Step 6 (a). Cut up strips of the red and white material to sew together. I cut them each around 1.5 inches. Don't worry if the edges aren't even: once you sew them together, you won't be able to tell!
Step 6 (b). IF YOU AREN'T USING A SEWING MACHINE AND YOU'RE MAKING YOUR OWN STRIPES only cut up strips of ONE color and then sew them onto the other color. (e.g. only cut the red material). Sewing the strips together without a machine would take way more time than needed. When you sew the strips on, make sure you fold the edge of the strip so that nothing will fray. Also be sure to space out the strips so that you can have the alternating colors! (You can also skip to step 9 since the next few steps are machine related).

But, I am using a machine, so I cut out strips of both colors.


Step 8. Once you get your sewing machine all set up, sew the strips together. Make sure you go from edge to edge!

One down!

When you go to pin another strip onto your sewed strips, pin it face down to the finished side, as shown below.

Sew strips onto each other until it is wide enough to cover your pant leg. Make sure your material ends up being a little bigger than you actually need it to be.

Step 9. Place your stripes onto your shorts.

Step 10. Use your "pattern" to trim your material.
Step 11. Do a rough pinning of the fabric onto the shorts to make sure it stays in place.

Step 12. Now sew the stripes on!
I personally chose to sew this by hand, since I am not totally comfortable with the sewing machine. If you really know how to use a machine or feel comfortable doing so, you will definitely want to sew with the machine. The hand sewing takes five times as long, but I think it gives you more control of how the material is placed on the shorts, especially around the intricate parts.
I used a simple but strong back stitch to sew. If you don't know how to back stitch, here's a picture:

and here's a video:
I started at the bottom-outside. I lined up the finished edge of the material to the seam of the shorts. If any part of your material doesn't have a finished edge, fold it in a little bit and sew through all the layers. This is crucial to make sure the material doesn't fray and fall apart.
Also, if you're new to sewing, please take a few minutes to Google or YouTube some basic tutorials to save yourself a lot of frustration!
Be sure to keep your pocket out of the way so you don't sew it closed!

Once you've sewed up the side, you're onto the pockets. If you don't want your rivets to show, this will be much easier for you. But I wanted mine to show to give the shorts a more authentic look. What you'll have to do is cut a little square slightly smaller than the rivet itself, and then tuck in the edges and sew around the rivet. It will take a little time to get the material tucked right and sewed correctly. It will also take a little work sewing through the thicker material at the pocket seams.

Once you get to the edge of the pocket, you can choose to either fold the material around the pocket (like I did) or sew the material to the outside of the pocket (like you'll do for the rest of the shorts).
If you have some fabric glue handy, you might find it beneficial to glue the material to the shorts before sewing just to make sure it stays in place. But this certainly isn't necessary!
Now we need to sew around the belt loop.


Tuck the material underneath the loop with your fingernail.

Now just stitch around the loop, making sure the material stays tucked under the loop. You might want to place some fabric glue around this part too, just to make sure the material doesn't start to fray.
Don't focus too much on the little details. These don't need to be perfect! And unless someone is super close to the shorts, they won't be able to tell you didn't stitch perfectly or whatever. Having things not be perfect makes the shorts more unique and vintage feeling, also!

If you chose to have the material to go over the fly, keep sewing straight across, and then go down when the fly ends. I wanted my fly to show, so I sewed right along the seam that was already there.

The seam at the crotch is much thicker than the rest of the shorts, so you may have a little trouble getting the needle in and out.

And we are done with the striped side!

Step 13. Cut down your stars fabric a bit to the size of the left side of your shorts. Then use your paper pattern and cut down the material even more, just as you did with the stripes in step 10.
If you were not able to find any blue and white stars material, get some white fabric and some American-flag-blue fabric. Cut out stars from the white fabric and sew them onto the white fabric, either by hand or with a machine. Once you have your fabric with stars, you can move on to the next step.

Once again, I lined up the finished edge of the material to the seam of the shorts. To reiterate, you could still fold the edge under, which you should have been doing all along anyways to any part of the material that didn't have a finished edge.

Step 14. Pin your material, and sew it exactly like you did the striped side! I promise that the left side is so much easier because you don't have to sew around the fly, or through the tough seam that's on the right side!

Ta-da! We've got everything sewed on!


Now go show off that 'Merican pride!
I hope you've found my tutorial useful and simple! If anything was unclear, don't hesitate to email me at hihensley719@gmail.com and ask me to clarify!
That looks so awesome! I also made one for myself. I'd be happy if you check it out :)
ReplyDeletehttp://funandoblivious.blogspot.com/
I'm looking best shorts click undergarments
ReplyDelete